
Description
Construction:
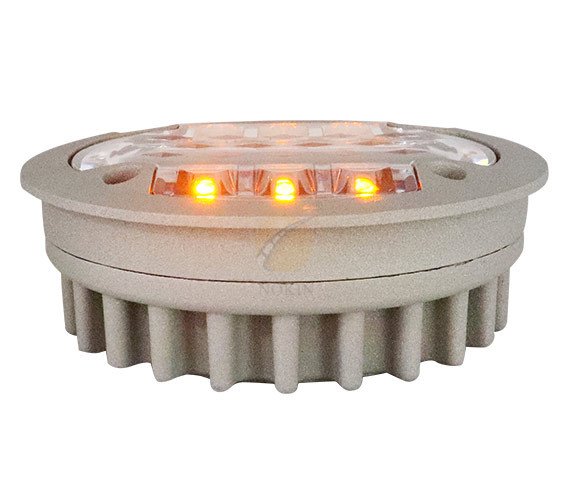
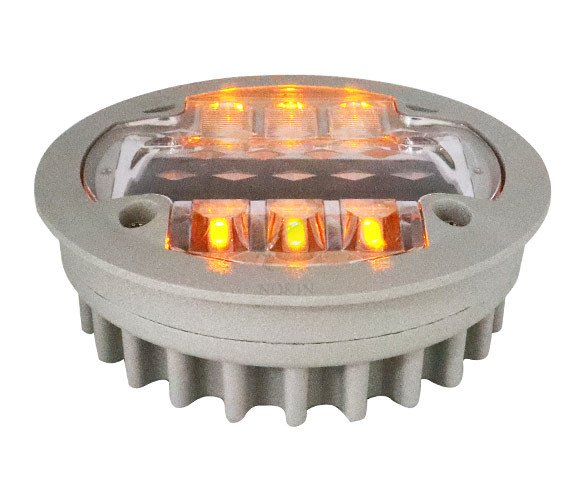
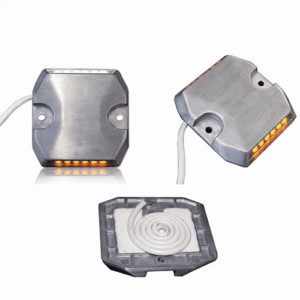
- Base Material: Made from cast aluminum, ensuring durability and robustness for road use.
- Surface Technology: Features plastic spraying technology for enhanced visual appeal and protection.
- Shell Composition: Constructed from reinforced PC material, known for its excellent impact resistance and heat stability.
- Load Capacity: Can withstand over 30 tons, making it suitable for installation in the middle of roads where heavy traffic is frequent.
Working Principle:
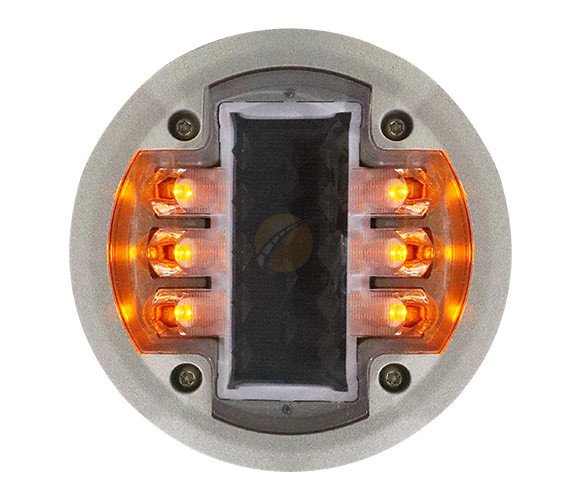
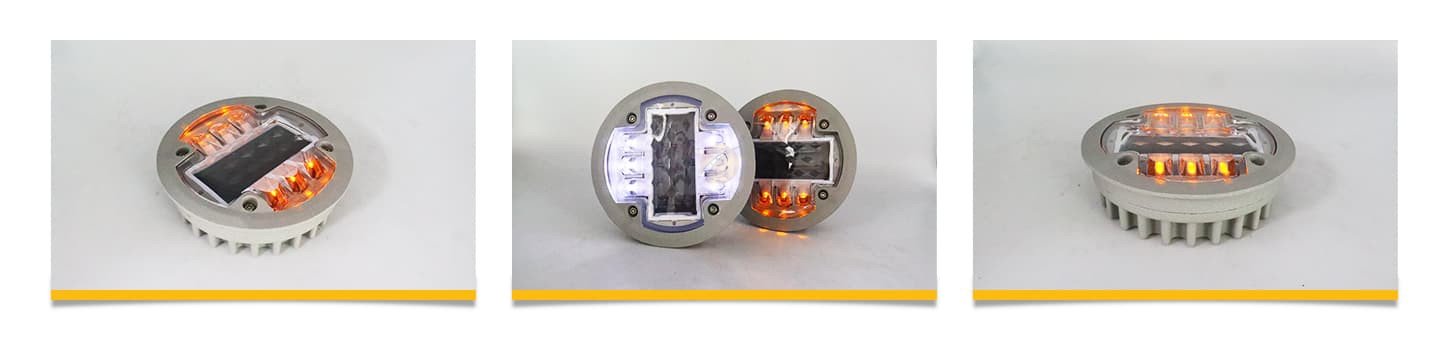
- Energy Capture and Conversion: Solar panels on the device capture sunlight and convert it into electrical energy, which is stored in batteries or capacitors.
- Automatic Light Emission: At night or during poor weather conditions, the stored energy is automatically converted into light by LEDs, controlled by photoelectric switches. This ensures the road is visually outlined, improving driver visibility and safety.
- Efficiency: The bright flashing LEDs grab drivers’ attention much sooner than traditional road studs.
Installation Method for Embedded Solar Road Stud:
- Marking and Drilling: Measure and mark the placement distance. Drill a hole with a diameter of approximately 120mm and a depth of 50mm using a Core Drill.
- Cleaning: Remove all debris from the drilled holes.
- Applying Epoxy: Fill the holes with epoxy as per the manufacturer’s instructions.
- Verifying and Setting: Ensure the hole is straight and large enough for the epoxy to properly surround the solar road stud shaft. Set the lighting surface at the desired angle.
- Finalizing Installation: Allow the epoxy to cure for 6-8 hours, then remove any installation barriers.
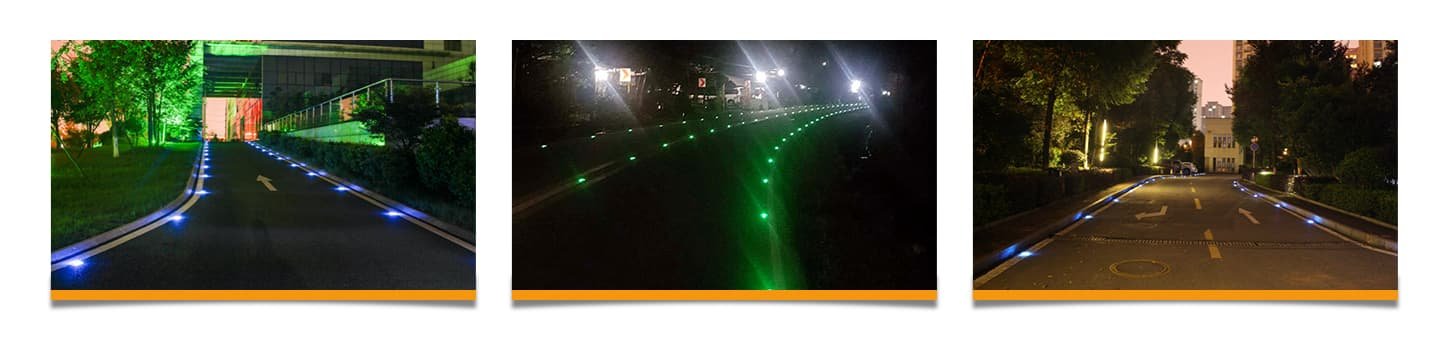
Recommended Spacing:
- Highways and Expressways: 5-6 meters (7-8 yards)
- Dangerous Entrances and Exits: 2-3 meters (4-5 yards)
- Hospital and Parking Lot Access: 0.5-2 meters (0.5-3 yards)
Applications:
- Highways/Expressways: For delineating lanes and enhancing driver awareness.
- Urban Roads and Parking Lots: To guide drivers and improve nighttime visibility.
- Public Places: Offers both functionality and aesthetic appeal.
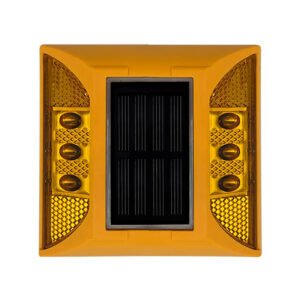
Characteristics:
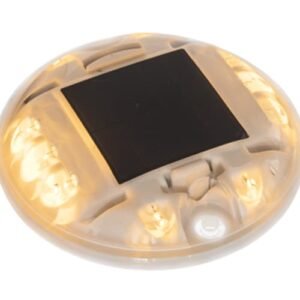
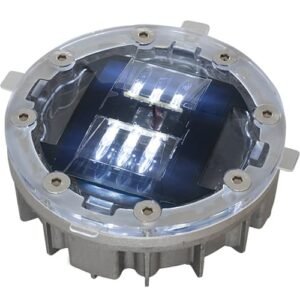
- Material: Utilizes aluminum alloy and a PC cover for durability and clear visibility.
- Solar Panels: Features high-efficiency solar panels for effective energy conversion.
- LED Technology: Incorporates high-brightness bullet LEDs for superior visibility.
- Customization: Offers OEM/ODM options to cater to specific requirements.
- Reliability: Designed to perform reliably in a wide range of environmental conditions.
Specification :
| Body material : | Cast Aluminum |
| Power supply: | Solar panel(Monocrystalline 2.5V /0.2W) |
| Battery: | NI-MH 2V/120mAh/ Lithium battery 5V/80mA |
| LED: | 3pcs/side φ10mm super brightness LED |
| LED Color: | White Green Red Yellow Blue |
| Flashing model: | flashing or constant |
| Working hours: | 180 hrs for flashing modes,40hrs for steady modes |
| Visual distance: | 800m(approx) |
| Waterproof: | IP68 |
| Load capacity | >40T |
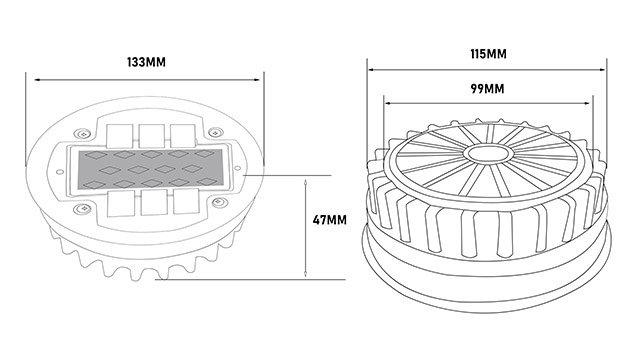
| Size: | Dia 133mm* 47mm |
| Package: | 1pcs/box; 30pcs/ctn Carton size: 67.5*28*20cm; Weight: 30kgs (1pcs/box; 30pcs/ctn; Weight: 66.14bs; Carton size: 26.57″*11.02″*7.87″) |
| Life span: | 3-5 years |
| Working Temperature | -25 °C~ + 75°C |
| waterproof | IP68 |
Reviews
There are no reviews yet.