The detailed installation guide you provided outlines the essential steps required to effectively install solar road stud lights, ensuring optimal performance and longevity. To further enhance understanding, let’s break down each step and consider some additional tips that might be helpful during the installation process:
Step-by-Step Installation of Solar Road Stud Lights
1. Choose a Good Installation Location and Clean the Road
- Site Selection: Assess traffic patterns and potential hazard zones to choose the best location for the studs. This could be at pedestrian crossings, sharp bends, junctions, or areas where accidents frequently occur.
- Cleaning: Thoroughly cleaning the installation site is crucial. Using a high-pressure air gun can be very effective in removing all particles that might impair the adhesive bonding.
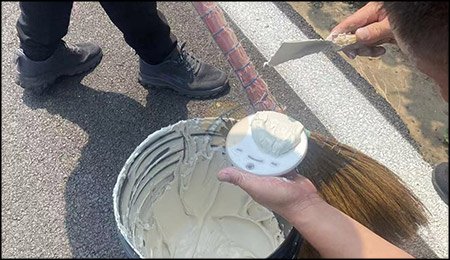
2. Apply Adhesive to the Bottom of the Road Stud
- Adhesive Selection: It is important to use a high-quality, durable adhesive that is suited to both the road surface and the environmental conditions. Epoxy and bituminous adhesives are commonly used due to their strong bonding properties and durability under various weather conditions.
- Application Technique: Apply the adhesive in a uniform layer. Consider the manufacturer’s guidelines for the quantity needed to avoid excessive or insufficient application.
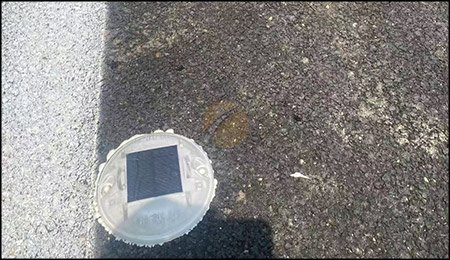
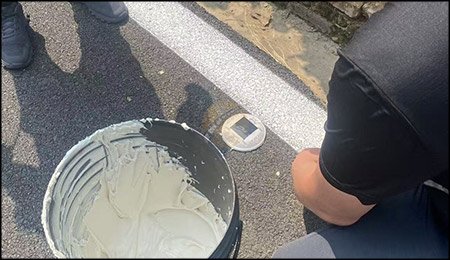
3. Glue the Road Stud to the Road Surface
- Placement: Carefully position the road stud, ensuring that the solar panel faces the direction that maximizes sun exposure. This is typically south-facing in the northern hemisphere and north-facing in the southern hemisphere.
- Pressing Down: Once placed, press down firmly but gently to ensure full contact between the stud and the road surface, eliminating any air pockets that might reduce adhesion.
4. Road Closed for 4-8 Hours
- Barrier Setup: Clearly mark the area to prevent vehicular access. Use cones and barrier tapes to demarcate the area.
- Inspection: During the curing period, perform periodic inspections to ensure the studs remain correctly positioned and undisturbed.
Additional Tips for Successful Installation
- Weather Conditions: Ideally, install the road studs in dry weather conditions. Adhesive bonding might be compromised by moisture, so avoid rainy or extremely cold days.
- Traffic Control: Ensure that traffic management plans are in place during installation to prevent any accidents or interference during the setting time.
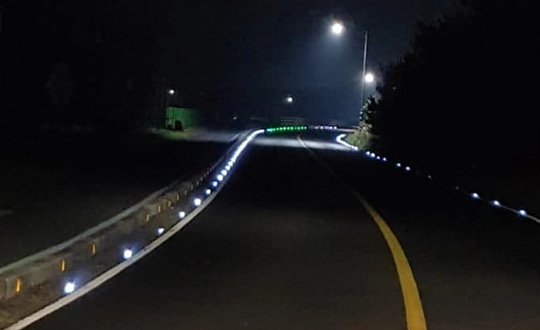
- Post-Installation Checks: Once the adhesive has fully cured, conduct a comprehensive check to confirm that all road studs are securely installed and functional. Check at night or during low-light conditions to ensure the lights are operational.
- Maintenance: Establish a maintenance schedule to periodically check the condition of the road studs. Replace any damaged or malfunctioning units promptly to maintain road safety.
Conclusion
Proper installation of solar road studs is critical for their effectiveness in enhancing road safety. Each step, from location selection to adhesive application and curing, plays a vital role in ensuring that the studs perform their function reliably. By following these detailed instructions and considering the additional tips provided, you can significantly improve the safety features of rural and other roads, contributing to safer driving conditions for all road users.